I would like to focus this article on “hatching (cross hatching)”.
While hatching is sometimes used for drafting with CAD and other tools, this article is about how to use hatching to help in the painting and sketching phases.
What is hatching?
・A technique used in painting, printmaking, etc., in which certain areas are filled with diagonal lines or patterns.
Hatching that extends in different directions is called “cross hatching”.
・Each hatch line has its own suitable use.
If you understand this, you will be able to visually convey the motif correctly.
See the picture below.
It shows a circular sphere illuminated from the upper left.
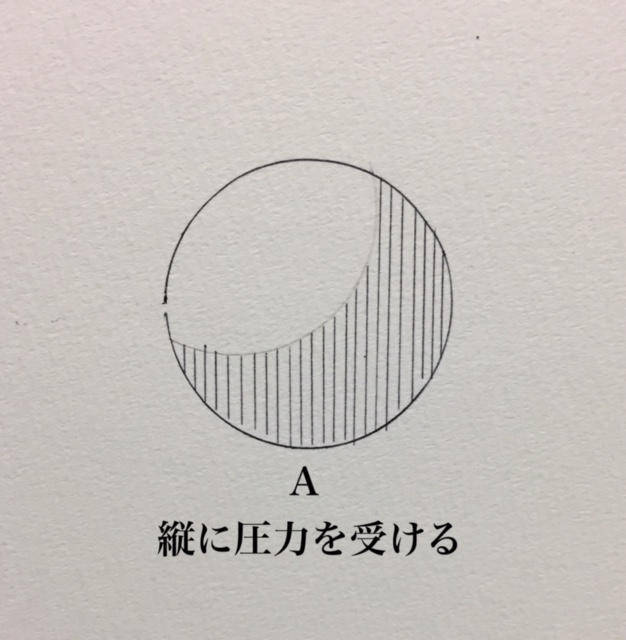

A. Vertical lines with shadow
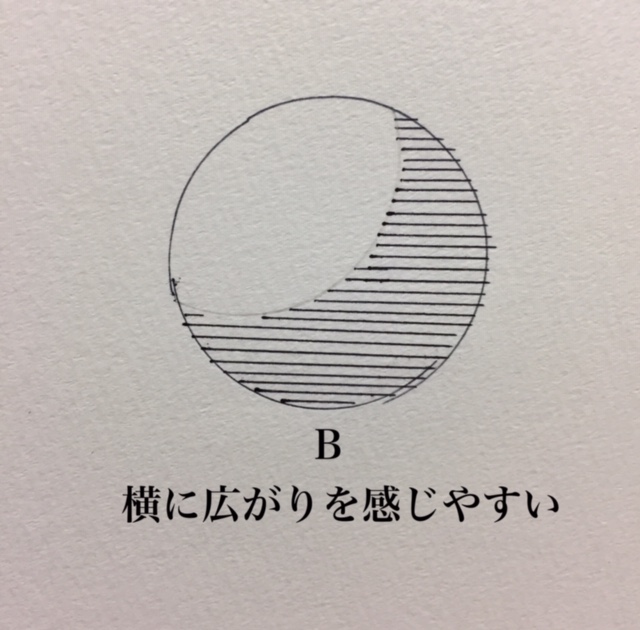
B. Horizontal line with shadow
C. Diagonal lines with shadows
C is the most natural shadow, and you can see how the atmosphere changes with each line.
The flow of lines can control the way material flows, textures, and moods in the human eye.
Hatching process
One of the ways to make a hatching work look beautiful is to keep each line in equilibrium.
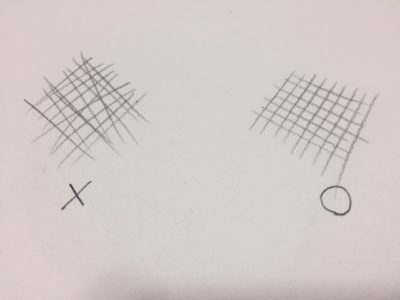
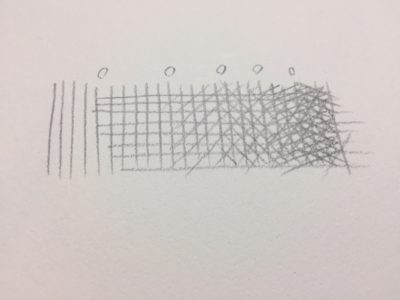
・How to use the hatching technique to darken the color
Overlapping the hatching at various angles will make it darker.
The hatching is overlaid at different angles at the location of the circle in the image below.
Let’s actually try it from here.
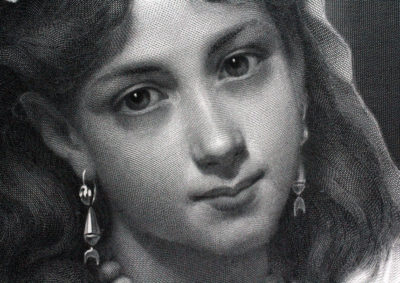
Drawing an actress with hatching
I would like to do a hatching drawing of a Japanese actress as a model.
In the case of a person, cross hatching is the way I prefer to work.
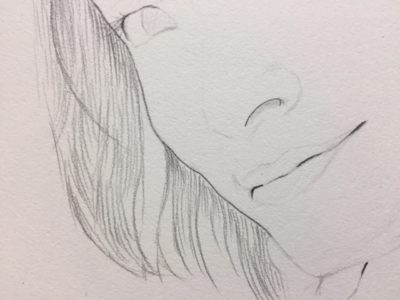
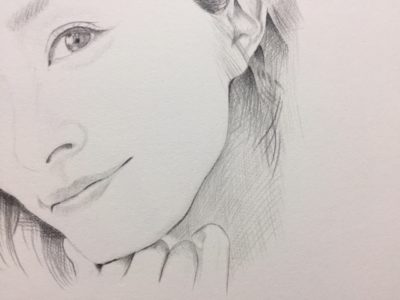
First, an overall sketch is taken.
From this point, hatching is done while paying attention to the hairline.
It is only hatching, so never paint over.
Keep going on and on like this.
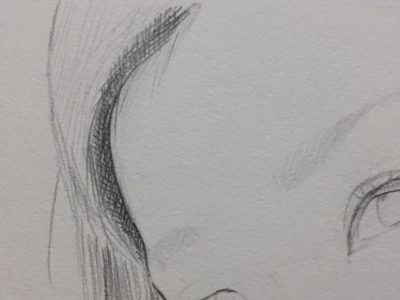
Even in such detailed areas, keep working patiently with cross hatching, and use a moderate amount of line where you want to create an atmosphere of light shining through.
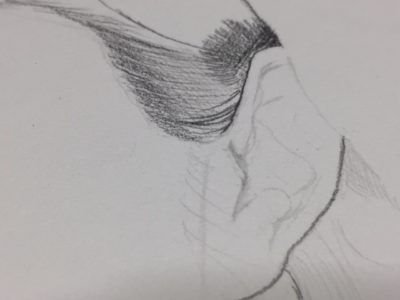
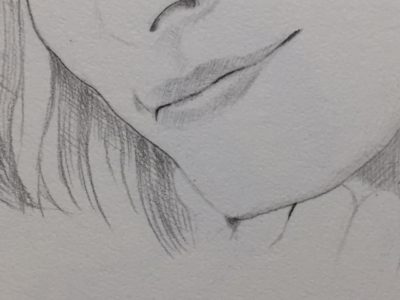
Even the slightest shadow of the jawline of the face will be thinly hatched.
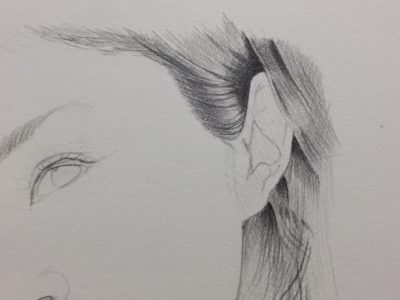
Then, draw in the details of the ears from this point on.
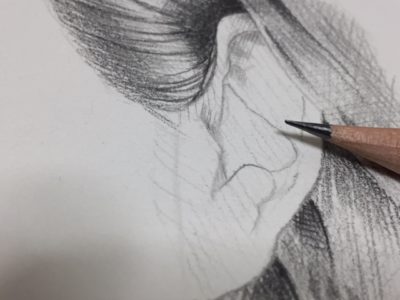
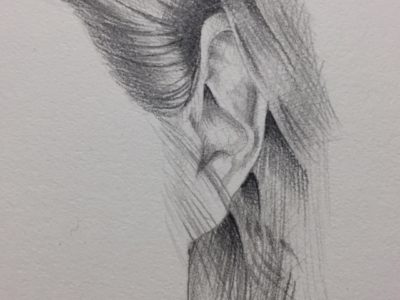
To express softness in the ear, the transition between light and dark should be painted more carefully.
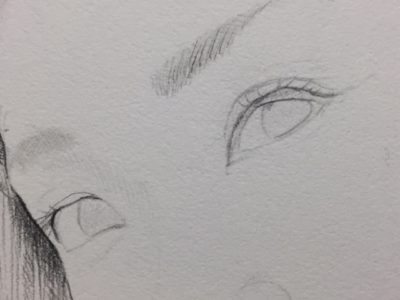
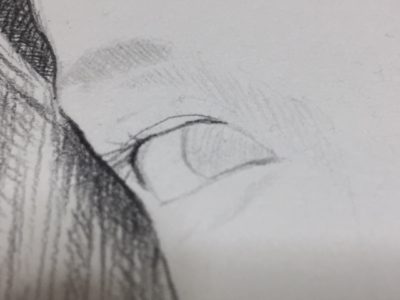
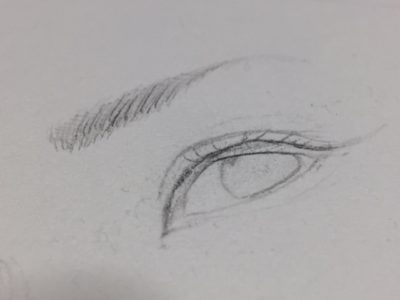
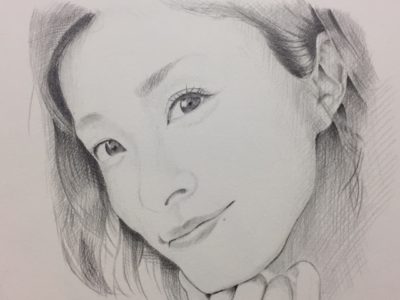
Here, start hatching into the eye.
The thin areas are using H pencils.
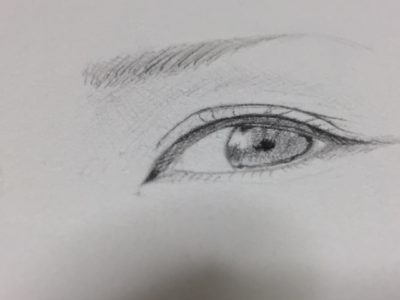
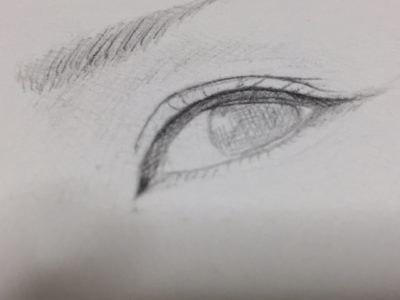
This area also looks like it is painted over, but it is finely hatched.
Always keep the tip of the pencil pointed.
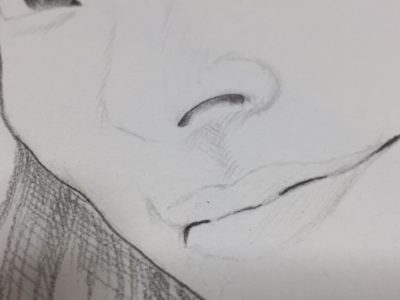
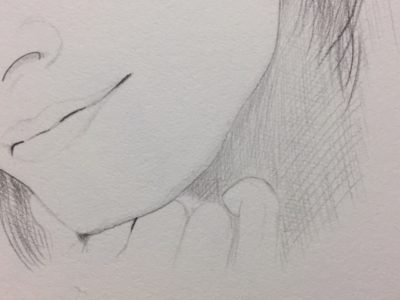
The mouth is also hatching gently more and more.
Proceeding with great delicacy.
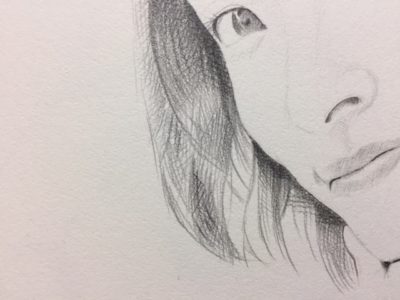
From here, make some rearrangements and modifications.
Darken the hair color with more layers of hatching and re-draw the hair line.
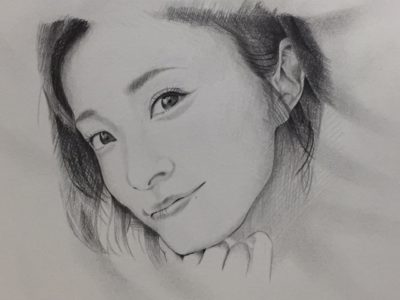
Hatching Effects and Attractiveness
Rather than blurring and coloring, it tells the viewer about the emotion and presence of the motif.
What I learned from hatching
As in the circle image shown above,
・Vertical lines are suited for expressing the vertical movement and pressure of materials.
・Horizontal lines are suited for expressing space and horizontal expanses.
・Diagonal lines are suitable for expressing shadows of materials, etc.
・To express a material using only lines without using colors is a task that cannot be faked at all, and one must observe the motif, understand the texture of the material and the way the light hits it, and give it presence.
And it takes a lot of patience to create a gradation without using a blur, but when you try it, you will find that hatching is surprisingly enjoyable and gives you a strong sense of creating something.
This concludes my article on hatching.

コメント